
この記事でわかること: Manus Slidesと画像生成を使って、資料作成の初速を上げる方法を解説します。
- スライド構成を先に作る
- 画像生成はたたき台として使う
- 最後は人間が読みやすさを整える
目次
- 1 English
- 1.1 Who this is for
- 1.2 What changed: GPT Image 2 inside Manus Slides (in normal words)
- 1.3 Before you start: the 60-second “safe inputs” rule
- 1.4 Step-by-step: make a slide visual that looks like it belongs (10 minutes)
- 1.5 How to keep images consistent across the whole deck
- 1.6 Free or paid? What to expect about pricing
- 1.7 Wrap-up: a small habit that makes this actually useful
- 2 日本語
- 3 References / 参考リンク
English
Slide making usually dies in the “find (or make) the right image” step. This week, Manus announced GPT Image 2 on Manus Slides, which means you can generate slide-ready visuals without bouncing between tools.
Also, the Manus brand is having a messy week in the news. I’m not going to do geopolitics here, but it’s a good reminder: when you generate images for work, you want a workflow that’s repeatable, auditable, and easy to swap tools if needed.
Who this is for
- You make decks for work and waste time hunting for “one decent visual.”
- You want consistent images (same style across 5、20 slides) without design skills.
- You need a simple “safety line” for what you do and don’t feed into an AI tool.
What changed: GPT Image 2 inside Manus Slides (in normal words)
Manus Slides can now generate images using GPT Image 2 directly in the slide workflow (per Manus’s product blog). Instead of generating elsewhere, downloading, re-uploading, and fixing sizes, you can build visuals closer to where they’ll be used.
A quick glossary, because the terms get thrown around:
- Image model (a model that generates images from text): you describe what you want, it produces a picture.
- Prompt (the instruction text): a short spec for the image, like a mini creative brief.
- Style consistency (keeping the same look): the trick to making a deck feel “designed,” even if you aren’t.
Before you start: the 60-second “safe inputs” rule
My rule for slide visuals is boring on purpose, but it saves headaches:
- Don’t paste customer names, internal metrics, or unpublished product details.
- Use placeholders like [Client], [Region], [Metric] in prompts.
- If you need a chart-like image, generate a generic illustration, then add real numbers in your slide tool manually.
If you’re working on sensitive decks, this one habit keeps your AI usage clean even if policies change later.
Step-by-step: make a slide visual that looks like it belongs (10 minutes)
Here’s the workflow I’d use if I were explaining it with screenshots:
- Step 1: Open your deck in Manus Slides and create a new slide with your headline first. (Write the message before the picture.)
- Step 2: Insert an image and choose the GPT Image 2 generator option (where available in the image/insert panel).
- Step 3: Pick a visual “lane” for the whole deck: (A) minimal line illustration, (B) soft 3D icons, or (C) photo-real. Don’t mix lanes unless you enjoy rework.
- Step 4: Generate 2、4 candidates and select the one that best supports the headline (not the prettiest one).
- Step 5: Lock the style by reusing the same prompt template for the next slides.
Prompt template you can copy:
Create a slide-ready image for a business presentation.
Subject: [your concept in 6、10 words]
Composition: centered, lots of negative space, no clutter
Style: [pick one: minimal line illustration | soft 3D icon | clean isometric]
Palette: [2-3 colors], match a modern SaaS deck
Background: plain light background
Text: no text, no logos, no watermarks
Output: high resolution, 16:9 friendly
Two concrete examples:
Subject: "workflow automation with AI"
Composition: a simple conveyor-belt metaphor with small icons
Style: clean isometric
Palette: navy + teal + light gray
Background: plain light background
Text: none
Subject: "risk check before publishing"
Composition: a shield and checklist on a desk, minimal objects
Style: minimal line illustration
Palette: charcoal + blue accent
Background: white
Text: noneHow to keep images consistent across the whole deck
This is the part most people miss. Consistency isn’t magic, it’s just constraints:
- Write a one-line “style spec” and paste it into every prompt (palette, style, background, no text).
- Keep composition rules the same (centered, negative space, no tiny details).
- Use a single metaphor family (pipes, conveyor belts, blocks, sticky notes). Mixing metaphors makes decks feel random.
Here’s a “style spec” block you can keep at the top of your notes:
STYLE SPEC (paste into every prompt)
Style: clean isometric, simple shapes, subtle shadows
Palette: navy #0B1F3B, teal #21C7B7, gray #E9EEF4
Background: plain light
No text, no logos, no watermarks
Leave 30% empty space for slide captions
Free or paid? What to expect about pricing
I can’t guarantee your exact pricing tier (it changes by plan and region), but the practical expectation is:
- Manus Slides features like image generation are usually tied to a paid plan or usage credits.
- If there’s a free tier, treat it as “trial volume,” not something to run a monthly reporting deck on.
If you’re cost-sensitive, do this: generate one “hero style” image first. If it fits your deck, then generate the rest. Don’t burn credits experimenting on slide 17.
Wrap-up: a small habit that makes this actually useful
The best part of having GPT Image 2 inside a slides tool is not “cool images.” It’s that you can turn visuals into a repeatable step: headline first, choose a lane, paste the style spec, generate 2、4, move on.
If you try it today, make just three slides: a title slide visual, one process diagram-style image, and one risk/guardrail image. That’s enough to feel whether this fits your workflow.
日本語
資料づくりって、結局「ちょうどいい画像が見つからない」で止まりません?文章は書けるのに、最後の見た目で時間が溶けるやつです。
Manusの公式ブログで、Manus SlidesにGPT Image 2が入ったと発表がありました。スライドの中で画像を作れるので、別ツールで生成してダウンロードして貼ってサイズ調整して…という往復が減ります。
こんな人におすすめ
- 社内資料や提案資料で、毎回「それっぽい1枚」を探して疲れている人
- デザインは得意じゃないけど、スライドの統一感は出したい人
- AIに何を入れていいか迷うので、ルールを決めて運用したい人
今回なにが変わった?を使う側の言葉にすると
ひとことで言うと、スライドを作っている場所の近くで画像生成できるようになりました。生成した画像を「あとで使う素材」じゃなくて「そのスライドの部品」として作れる感覚です。
用語も最低限だけ。
- 画像モデル(文章から画像を作るAI): 指示文を書いて絵を出してもらう仕組み
- プロンプト(指示文): 画像の設計書。短いほど良い、というより「条件が揃っているほど勝ち」です
- 統一感(見た目の一貫性): これが出るだけで“ちゃんと作った感”が一気に上がります
はじめる前に:60秒で決める「AIに入れないもの」
今週はManusの周辺ニュースも騒がしいですが、ここでは政治の話はしません。その代わり、どのツールでも効く「自衛の型」を置いておきます。
- 顧客名、未公開の数字、内部の施策名はプロンプトに入れない
- 必要なら [顧客] [地域] [KPI] みたいに置き換える
- 数字が必要な図は、AIで“雰囲気の図”だけ作り、実データはスライド側で手入力する
地味なんですけど、これをやるだけで「後から困る確率」が下がりますよ。
使い方の手順(スクショで追うつもりの細かさ)
- 手順1: Manus Slidesでデッキを開き、まずスライドの見出し(言いたいこと)を先に書きます。画像は後でOKです。
- 手順2: 画像の挿入から、GPT Image 2の生成(利用できる項目)を選びます。
- 手順3: そのデッキの「絵柄のレーン」を1つ決めます。おすすめはこのどれかです。
A: ミニマル線画、B: ゆるい3Dアイコン、C: 写真風(フォトリアル) - 手順4: 同じ指示で2〜4枚生成して、いちばん“主張を助ける”ものを選びます。いちばん綺麗な絵を選ぶと、だいたい話がズレます。
- 手順5: 次のスライドも同じテンプレで回して、統一感を作ります。
コピペ用のプロンプト(まずはこれで十分です):
スライド用の画像を作ってください。
テーマ: [6〜10語で概念を書く]
構図: 中央寄せ、余白多め、情報量は少なめ
スタイル: [ミニマル線画 / ゆるい3D / クリーンなアイソメトリック] のいずれか
配色: 2〜3色、ビジネス資料に合う落ち着いたトーン
背景: 明るい単色
禁止: 文字入れなし、ロゴなし、透かしなし
出力: 高解像度、16:9で使いやすい比率
例も2つ置いておきます。
テーマ: 「AIで業務フローを自動化」
構図: コンベアに小さなアイコンが流れる比喩
スタイル: クリーンなアイソメトリック
配色: ネイビー + ティール + 薄いグレー
背景: 明るい単色
禁止: 文字なし
テーマ: 「公開前のリスクチェック」
構図: 盾とチェックリスト、机の上に最小限の物
スタイル: ミニマル線画
配色: チャコール + 青の差し色
背景: 白
禁止: 文字なし統一感を出すコツ:いちばん効くのは「制約」
統一感ってセンスというより、毎回同じ条件を貼るだけで作れます。
- 配色、背景、文字なし、余白、ここを固定して毎回入れる
- 構図ルールも固定(中央寄せ、余白30%)
- 比喩の種類も揃える(配管、ブロック、付箋、コンベアなど)。混ぜると急に雑多になります
これをメモ帳に置いて、毎回貼るとラクです:
STYLE SPEC(毎回貼る)
スタイル: クリーンなアイソメトリック、形は単純、影は薄く
配色: ネイビー #0B1F3B / ティール #21C7B7 / グレー #E9EEF4
背景: 明るい単色
禁止: 文字なし、ロゴなし、透かしなし
余白: キャプション用に30%空ける
無料で使える?料金は?(2026年4月時点の考え方)
プランや地域で変わるので断言はできないのですが、現実的にはこう見ておくのが安全です。
- 画像生成は 有料プラン か 利用クレジット制 で提供されることが多い
- 無料枠があっても「試せる量」と思っておくと、運用で困りにくい
節約するコツは、最初に1枚だけ“デッキの絵柄が決まる代表作”を作ること。そこで方向性が決まってから量産すると、無駄撃ちが減ります。
まとめ:今日やるなら「3枚だけ」作って感触を見る
Manus SlidesにGPT Image 2が入った価値は、かっこいい絵が出ることより、画像作りが作業工程として安定するところだと思っています。見出しを書いて、レーンを決めて、STYLE SPECを貼って、2〜4枚作って選ぶ。これで迷いが減ります。
今日試すなら、まずは3枚で十分です。タイトル用の1枚、プロセス説明っぽい1枚、注意点やガードレール(守るルール)用の1枚。この3つが揃うと、資料が一気に“仕事の顔”になりますよ。
References / 参考リンク
- Introducing GPT Image 2 on Manus Slides(Manus Blog)
- Manus-Meta breakup could spell trouble for AI startups(Semafor)
- China blocks Meta from acquiring startup Manus as global AI rivalry deepens(AP News)
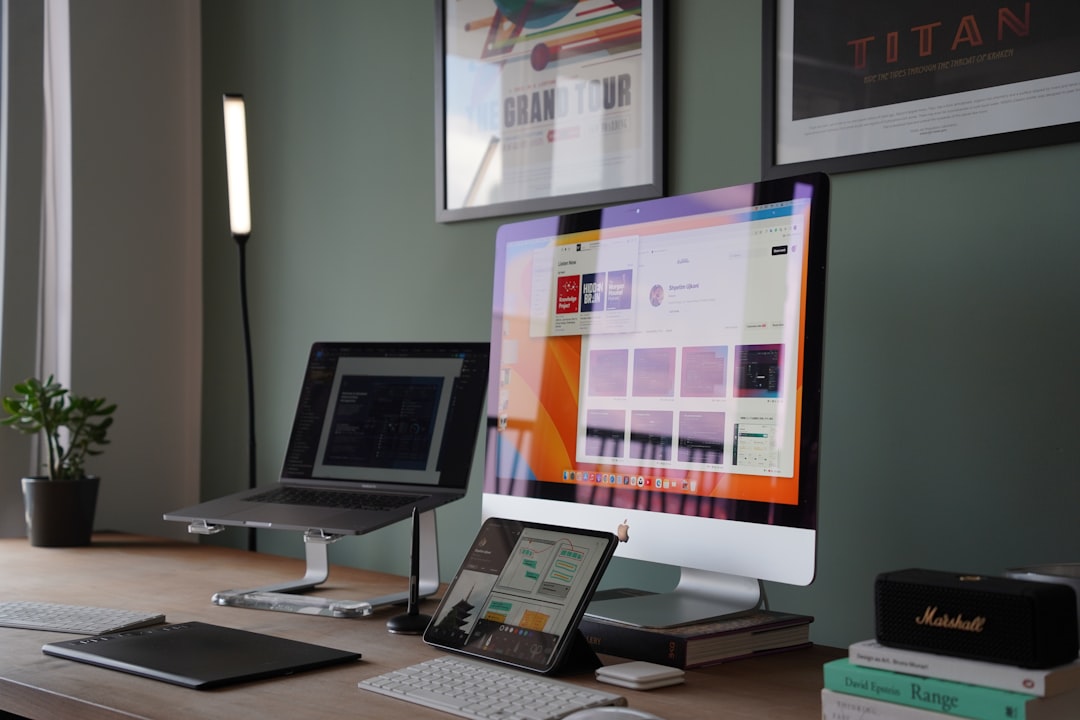
Photo by Shpëtim Ujkani on Unsplash

